
Build Your Own Tufting Frame – Step-by-Step Guide
Building a tabletop tufting frame isn’t rocket science. But there are a few things you should keep in mind to make sure your tufting experience is smooth and enjoyable. This guide will walk you through the materials, measurements, and assembly process for a solid and reliable DIY tufting frame.
1. Choosing the Right Wood: Stability First
The type of wood is not as important as its dimensions and stability.
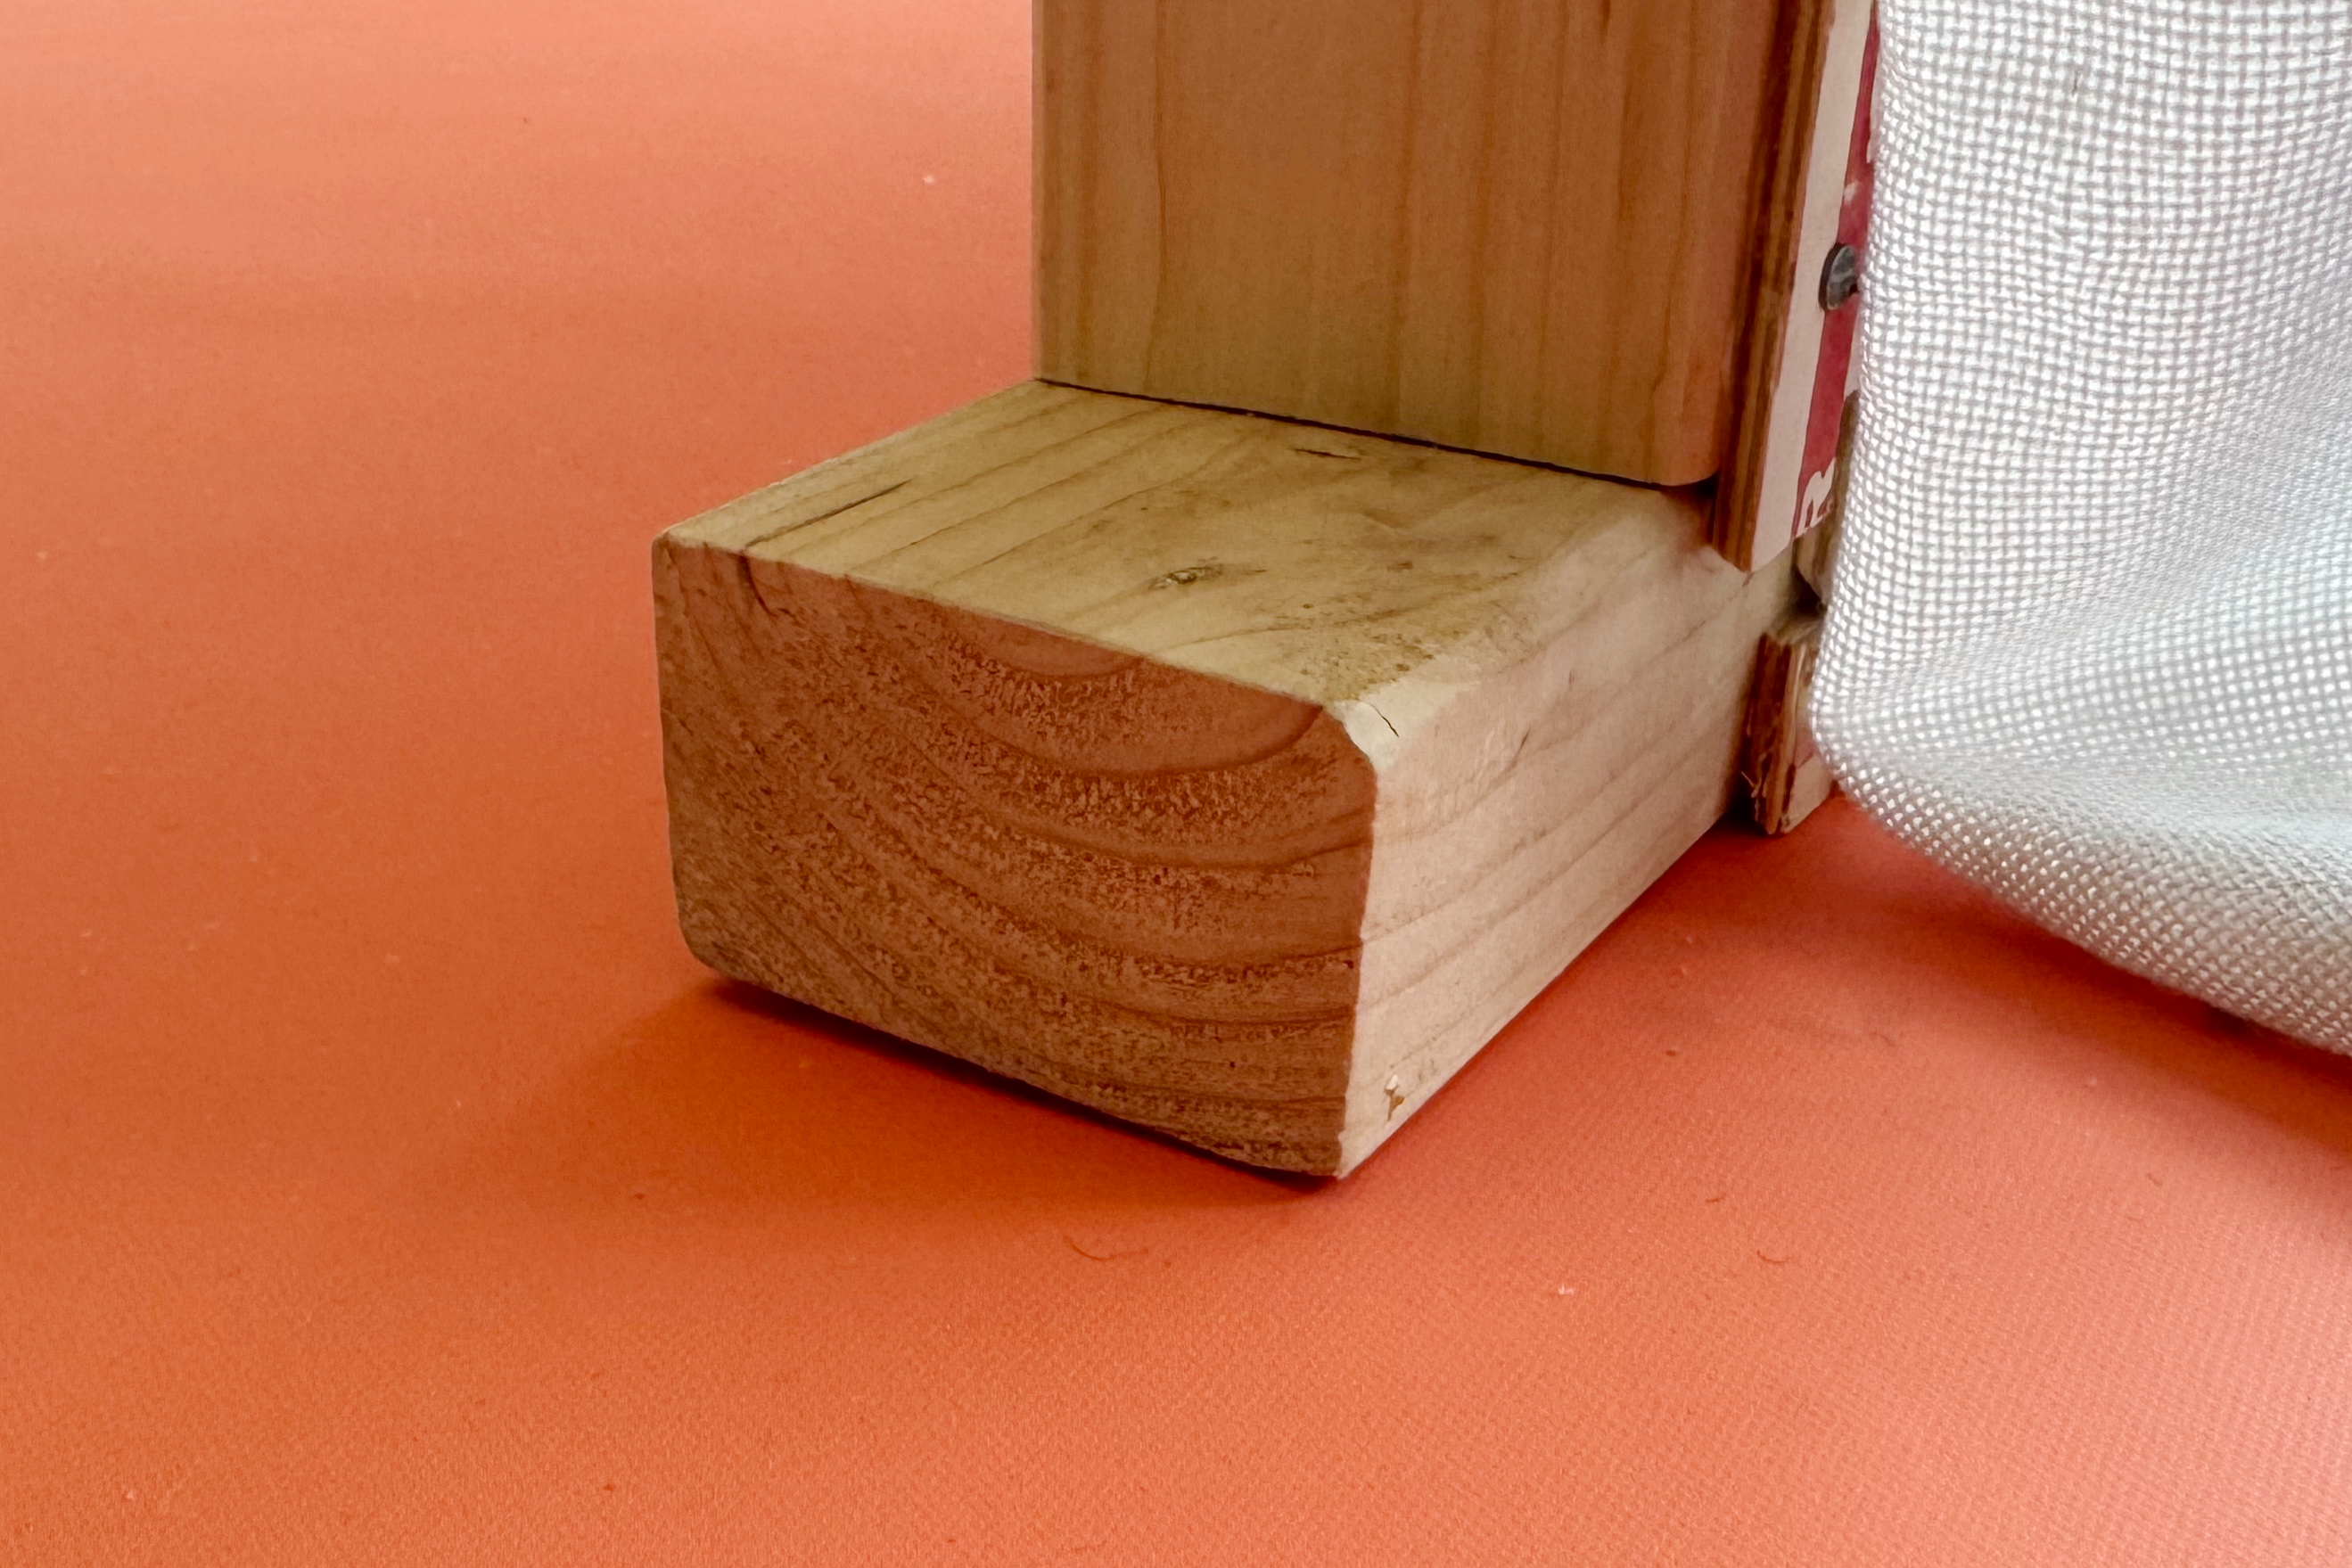
✔️ Deeper than tall: Gives better grip when clamped to a table
✔️ No bending: The wood must not flex when the cloth is stretched
✔️ Recommended size: 80 x 40 mm wooden slats (e.g., fir)
✔️ Double rows of gripper strips: Slightly offset placement helps create even tension
💡 Tip: Our tufting frames are 8 cm deep and 4 cm thick — stable and reliable.

2. Frame Structure: Four Main Parts
Your tufting frame consists of four wooden parts:
2 Side pieces: Clamped between the top and bottom boards
1 Top board: With an overhang on the left side and 2 eyelets for guiding the yarn
1 Bottom board: With overhangs on both sides to clamp the frame to your table

3. Sizing: How to Measure Correctly
Always leave at least 5 cm (2 inches) of space between the edge of your design and the inner edge of the frame to allow for proper tension.
Example:
Your rug should be 50 x 70 cm
👉 Frame’s inner dimensions: at least 60 x 80 cm
Max height:
We don’t recommend going higher than 90 cm with a simple tabletop frame, as it may become unstable without extra supports.
4. Wood : Precision Matters
Clean and accurate cuts are essential. Get your side pieces cut at a hardware store. Avoid cutting by hand or with a jigsaw, as the edges won’t be flat enough and your frame may wobble.
Detailed Measurements:
Part Measurement Formula
- Side pieces (2x)Width (B) + 2 × 5 cm (spacing)
- Top board (1x)Length (L) + 2 × 5 cm + 2 × 4 cm (wood thickness) + 15 cm (overhang for eyelets)
- Bottom board (1x)Length (L) + 2 × 5 cm + 2 × 4 cm + 2 × 8 cm (overhang for table clamping)
5. Assembly: Simple and Secure
You’ll need:
✔️ 8 matching wood screws
✔️ 2 metal eyelets (screw-in)
✔️ Wood glue for attaching gripper strips
How to assemble:
Screw the frame parts together as shown
Apply a bit of wood glue and nail the gripper strips in place
Important: Nail angle must face outward!
Now clamp the finished frame securely to your worktable using screw clamps – and you're ready to tuft!
📌Conclusion: Simple But Effective
With the right wood, exact measurements, and some care during assembly, you can create a sturdy, practical tufting frame that will support all your creative rug projects. Enjoy tufting with full tension and less frustration!
